Why Should You Care About Food Preservation?
For as long as we can remember, food has been affordable and easily accessible in grocery stores, minutes away from our homes. Nowadays, you can even order your food with a couple of clicks from home, and have it “magically” appear at our doorstep within hours.
For most of us that’s as far as it goes – we often take it for granted. But we shouldn’t take food for granted.
In recent years, the world has experienced a growing food crisis. Starvation is quickly rising, with 345 million people globally at risk of starvation! This has led to rising food prices, civil unrest in up to 33 countries around the world, food shortages, empty shelves, and rationing!
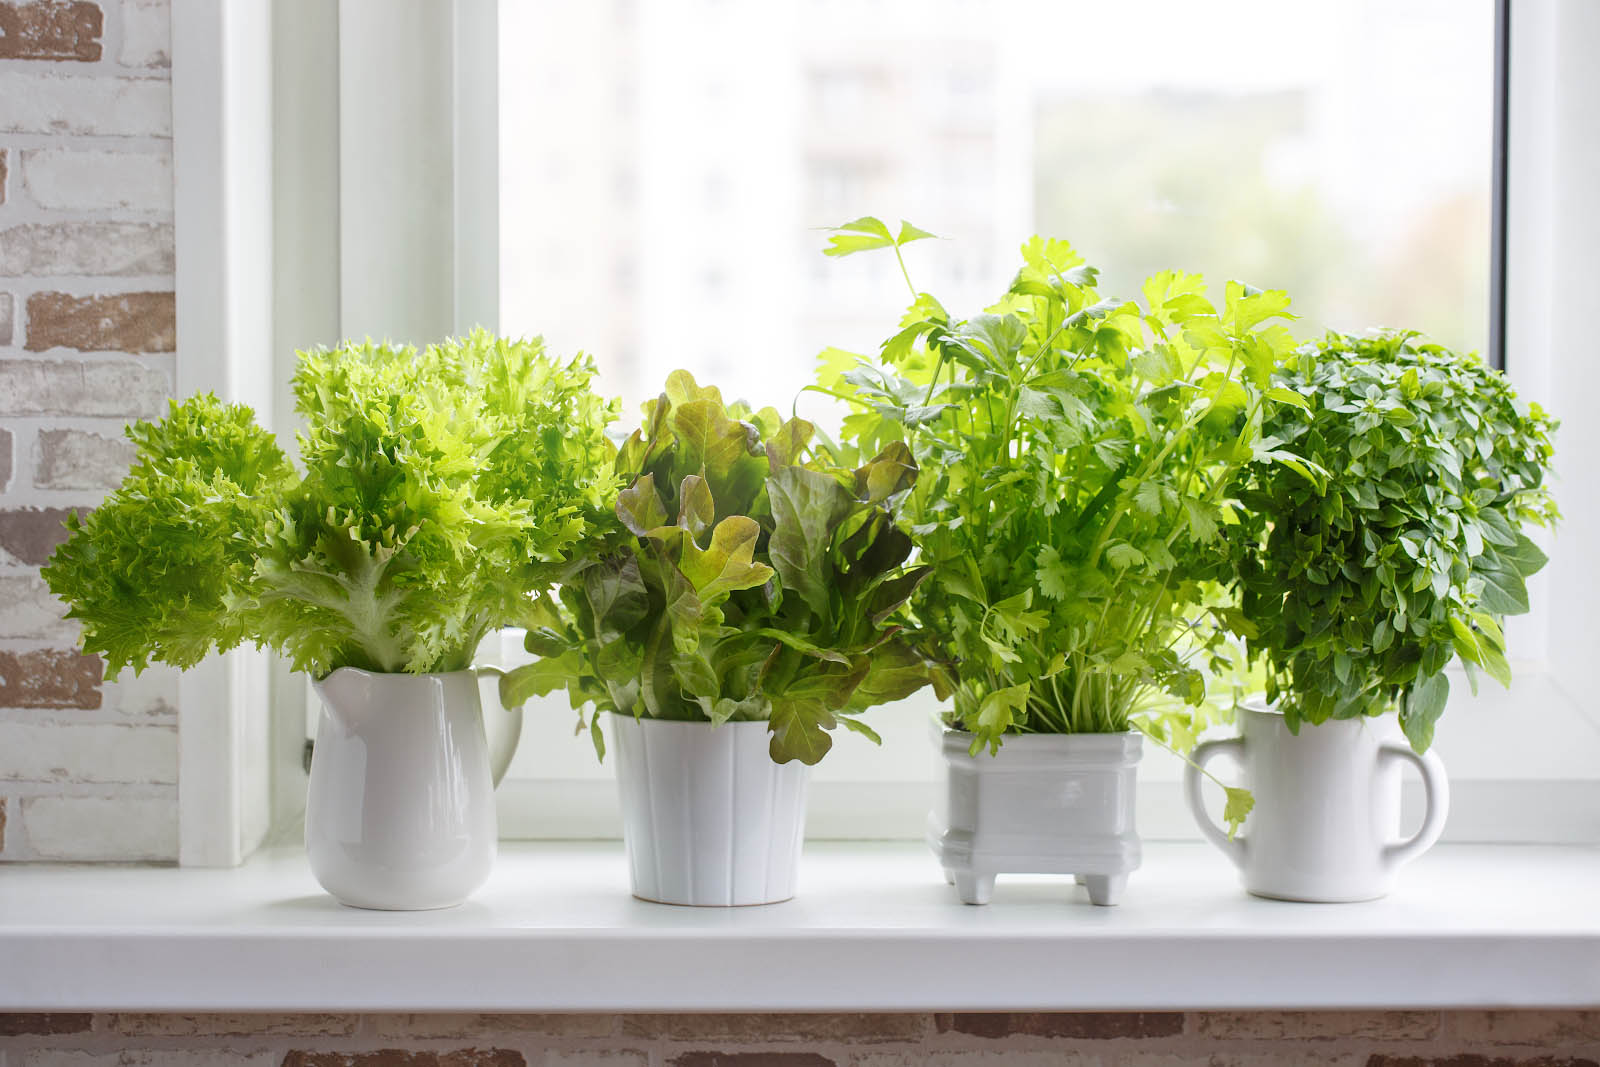
A great way to start taking control of your food supply is home food preservation.
How to Preserve Food?
There are several food preservation methods, with the goal of preventing spoilage and extending its shelf life. These methods include:
- Freezing entails bringing the temperature of the food down to a point where bacteria cannot grow.
- Canning involves sealing the food in airtight containers and heating it to kill any bacteria present.
- Drying removes moisture from the food to inhibit bacterial growth.
- Smoking exposes the food to smoke and heat to prevent bacterial growth and add flavor.
- Pickling involves soaking food in a solution of vinegar and salt to preserve it.
Freezing
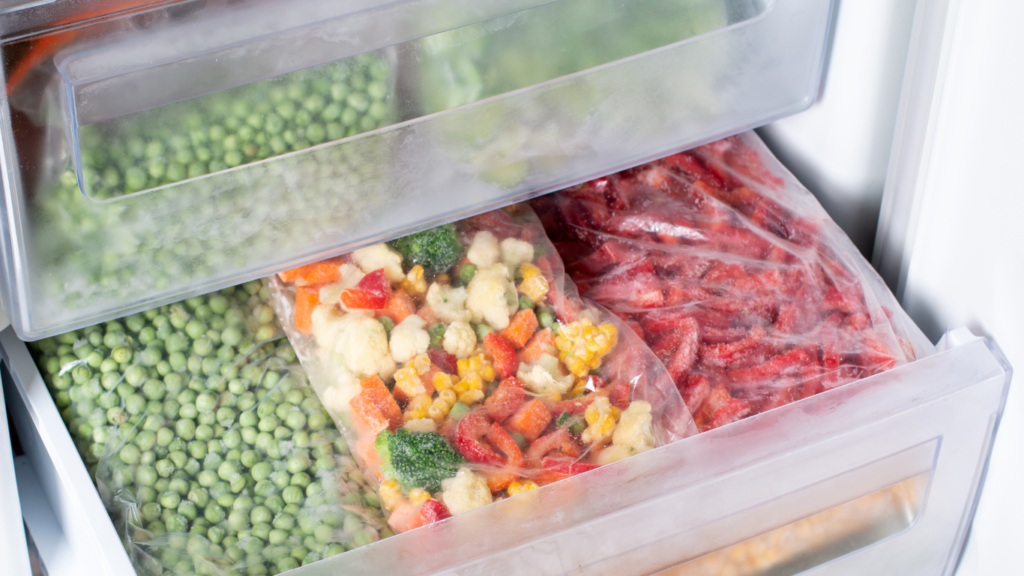
Freezing is a popular method because of its simplicity. By lowering the temperature of food to a point where microorganisms and enzymes cannot thrive you can slow down the process of food spoilage.
Freezing can help extend the shelf life of food while also helping to maintain the nutritional value of the food. The length of time frozen food stays good for can vary depending on the type of food and how it is stored. In general, frozen foods can be stored safely for up to six months to a year, but this can vary based on the food in question.
For example, raw meat and poultry can be stored for about six months, while cooked meat and poultry can be stored for up to three months. Similarly, frozen vegetables can be stored for eight to 12 months, while fruit can be stored for up to 12 months. It is important to always check the packaging for specific instructions and expiration dates, as well as to properly store and handle frozen foods to ensure they stay fresh and safe to eat.
Foods that are commonly frozen include meat, fish, poultry, vegetables, fruits, and baked goods.
It is important to ensure that foods are properly packaged to prevent freezer burn, which can occur when air comes into contact with the food.
While freezing is an easy and convenient way to preserve food, you shouldn’t be completely reliant on it. In the scenario that food shortages are abundant, it is likely that there will also be energy shortages, meaning that your freezer might not work. So it’s smart to not put all your eggs in one basket.
Canning

Canning is a process of preserving food by sealing it in an airtight container to prevent the growth of harmful bacteria. The process involves heating the food in a glass jar or a metal can, and then sealing it with a lid and a ring. The heat kills any bacteria that may be present, and the seal prevents any new bacteria from entering the jar.
Canned food lasts for varying amounts of time depending on the type of food, the canning method, storage conditions, and whether the container has been opened. Generally, most canned foods can last for 2-5 years, while some, like canned fruits and tomatoes, can last for up to 8 years. However, it’s important to keep in mind that this is just a general guideline, and it’s best to check the expiration date or use-by date on the can before consuming the contents. Additionally, if the can is damaged or shows any signs of swelling, rusting, or leaking, it’s best to discard it immediately as there’s a higher risk of bacterial contamination. Finally, the taste, texture, and nutritional value of canned food may deteriorate over time, so it’s always best to consume them within their suggested shelf life.
You can stock up on canned food, but if you really want to be self-sufficient, you can get canning equipment and learn how to can foods at home. Just be sure to follow safe canning guidelines to avoid the risk of botulism, a serious foodborne illness.
Canning Equipment
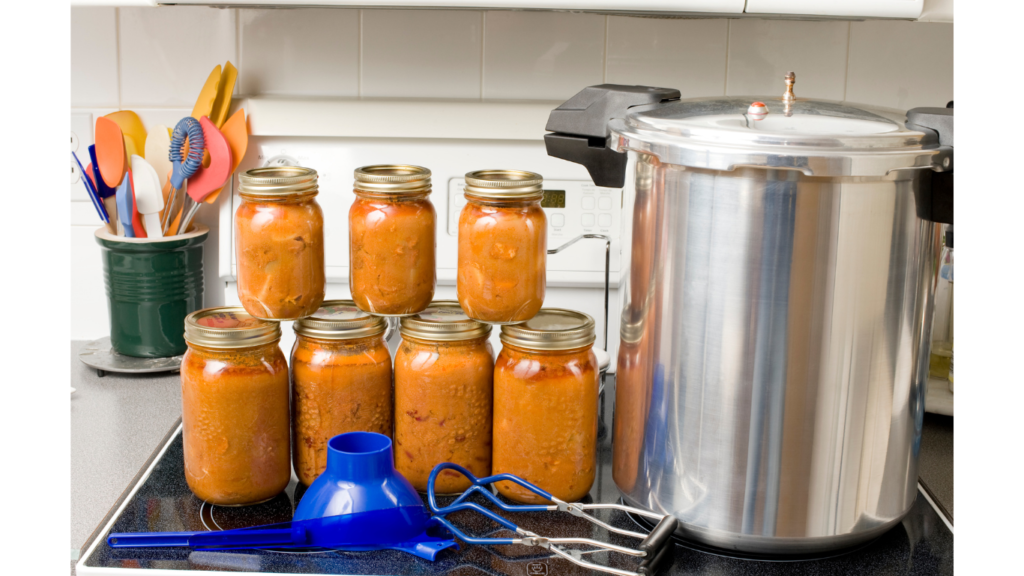
Canning food at home usually requires a few pieces of equipment to ensure that the process is successful and safe. The most basic equipment that you will need generally includes:
- Large pot for boiling water
- Canning jars with lids and rings
- Jar lifter
- Canning funnel
- Gloves
However, depending on the type of food you are canning, you may also need other equipment such as:
- Pressure canner for low-acid foods like vegetables and meat
- Water bath canner for high-acid foods like fruit and pickles
- Thermometer to measure the temperature of the water
- Bubble remover tool for removing excess air from the jars
Our favorite beginner home canning starter kit contains everything you’ll need to get started with canning (besides the glass jars themselves) and won’t cost you an arm and a leg. It comes with a jar wrench, magnetic lid lifter, wide mouth funnel, canning jar lifter, jar tongs, bubble popper, chalk marker and 30PCS labels.
How to Can Your Food at Home
Start by cleaning and sterilizing jars, lids, and bands. Prepare the food you want to can by washing, peeling, and chopping it into suitable sizes.
Then, fill the jars with the food and add any required liquids or seasonings. Leave enough space at the top for expansion during processing. Seal the jars with the lids and bands, and place them in a canner or large pot of boiling water for the amount of time specified for the food type and altitude.
After processing, remove the jars and let them cool before checking the seals. Store canned goods in a cool and dry place and enjoy them throughout the year. It’s important to follow proper safety guidelines and recipes to ensure safe canning and preservation.
Drying
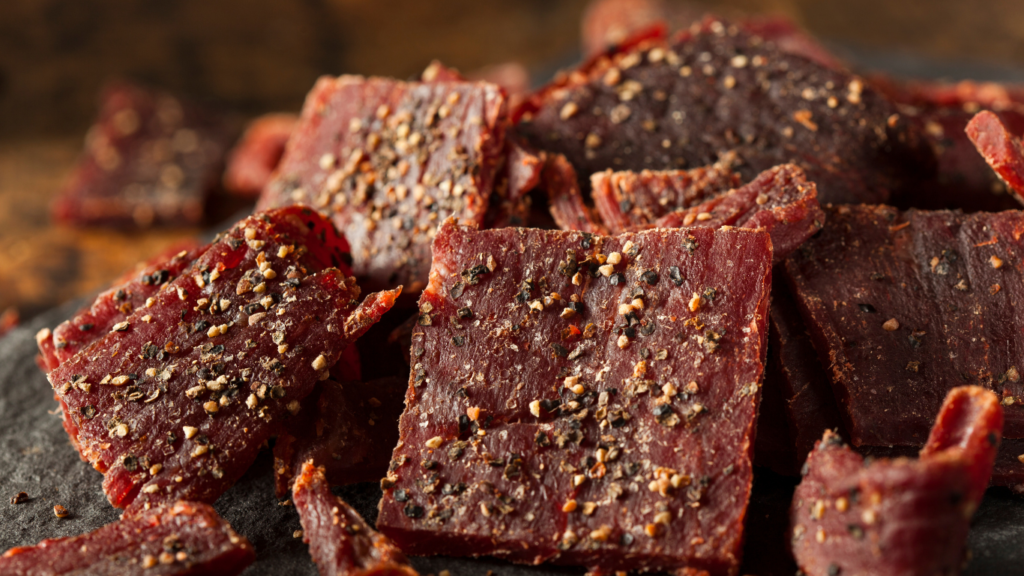
Drying is an effective method to preserve food, particularly fruits, vegetables, and meats –not too mention that dried food is just yummy.
Dried foods last anywhere from several months to several years depending on the type of food, how it was dried, and how it is stored. Proper storage is essential to maintain the quality and safety of dried foods. Dried fruits, vegetables, and herbs can last up to 1 year when stored in a cool, dry place in an airtight container. Meat jerky, on the other hand, can last up to 2 years when stored in cool, dry conditions in an airtight container.
However, it is important to note that the nutritional value and flavor of dried foods may diminish over time. Be sure to label and date all dried foods and regularly check for signs of spoilage such as mold, discoloration, or a musty smell.
Here are some tips to dry food properly in your home:
- Choose the right produce: Pick ripe and fresh produce. Wash thoroughly before drying.
- Cut into small, even pieces: Uniform cuts will ensure consistent drying time.
- Use a dehydrator: Dehydrators come with temperature and time settings that make the process easier. The best dehydrator (in our opinion)? The COSORI dehydrator is great for drying all types of food.
- Allow for airflow: Leave some space between the food pieces to allow for air movement.
- Monitor the moisture content: Keep an eye on the drying progress and check the moisture at regular intervals.
- Store properly: Once dry, store in an airtight container in a cool, dry place.
With these steps, you can enjoy the fruits — and veggies and meats — of your labor for years to come!
Smoking
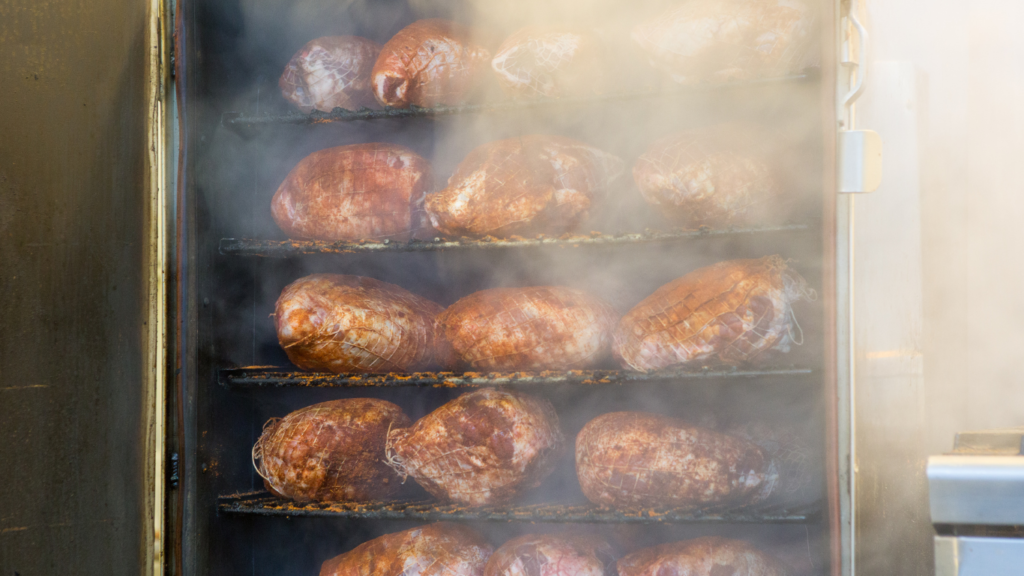
Smoking food is a traditional method of preserving food that involves exposing it to smoke from burning wood or other plant materials. The smoke acts as a natural preservative, as it contains chemicals such as phenols and alcohols that slow down the growth of bacteria and other microorganisms that cause food spoilage. Smoking also imparts a unique flavor to food, making it a popular cooking technique for meat, fish, and even vegetables.
To smoke food, it is typically dried or salted first to remove excess moisture. Then, it is hung in a smokehouse or enclosed container and exposed to smoke for several hours. The length of time needed varies depending on the type of food and the desired level of smoke flavor.
Smoking can extend the shelf life of food by several months, making it an effective preservation method before refrigeration was available. Today, smoking is still commonly used for flavoring and preserving meats, such as bacon, ham, and sausages.
Here are 4 simple steps you can follow to smoke food at home:
- You’ll need a smoker or smoking gun and some wood chips to produce the smoke. A smoker could set you back $20-$100.
- You should select the type of food you want to smoke and prepare it by cleaning and seasoning it with your desired spices.
- place the food in the smoker or enclosed container connected to your smoking gun and let it smoke for the recommended time, depending on the type and size of the food.
- When the smoking process is complete, remove the food from the smoker and let it cool before storing it.
- Smoked food should be stored properly to maintain its flavor and quality. Keeping it in an airtight container or bag at a cool temperature below 40°F (4°C) is recommended.
Our favorite smoking gun by far will let you smoke all types of different foods and drinks. It’s great value for what it is, easy to use, and comes with 7 different flavors of wood chips.
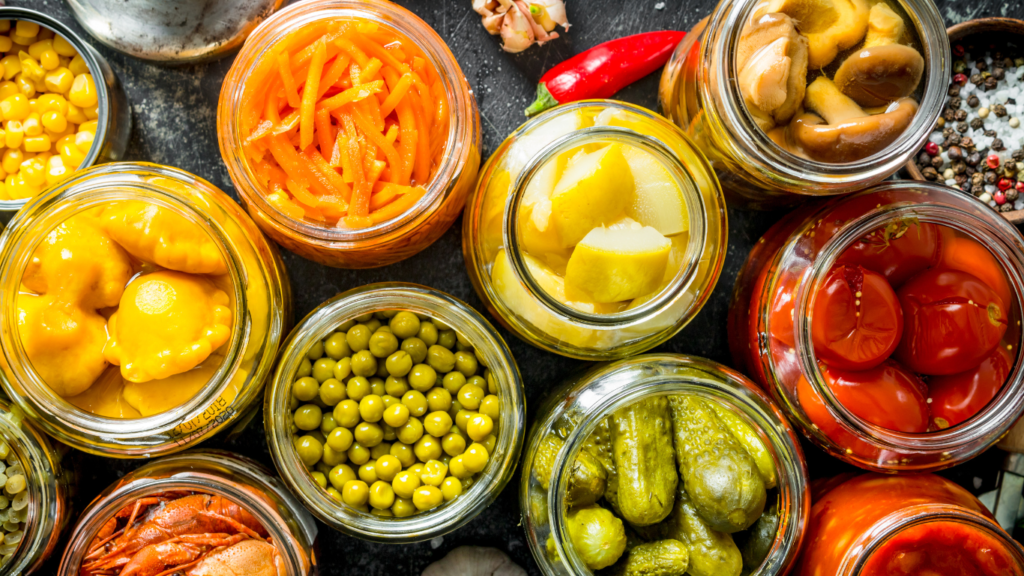
Pickling
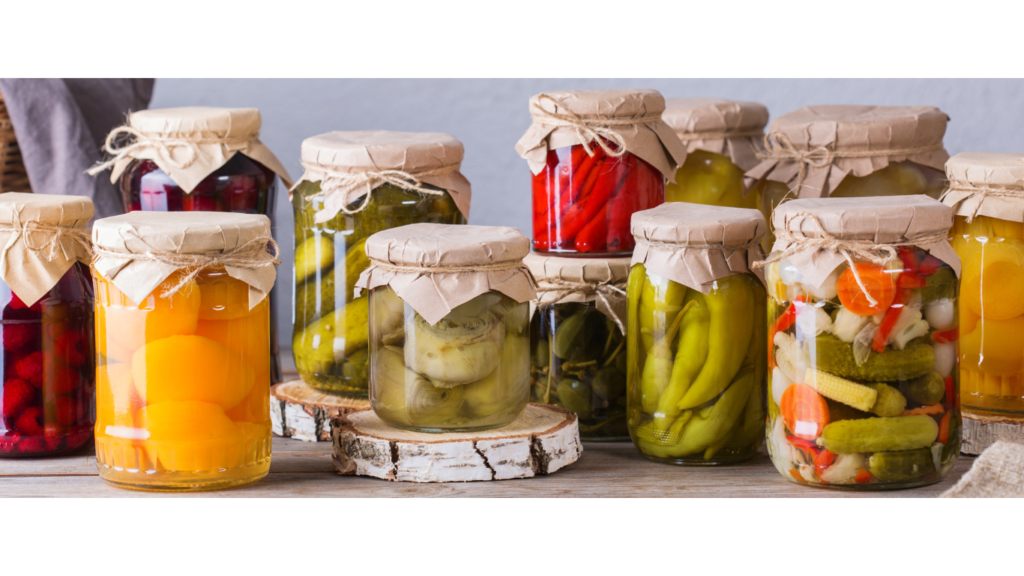
Pickling food is a popular method of food preservation that involves immersing vegetables, fruits, eggs, fish, or meat into a solution made of vinegar, salt, and sugar.
The pros of pickling include preserving food for an extended period, adding flavor and variety to diets, and increasing the availability of food outside of its growing season. In general, pickled vegetables like cucumbers or carrots can last between one to three months in the refrigerator, while pickled meat and fish can last for up to six months.
However, the cons of pickling include the loss of some nutritional value due to the cooking process. Additionally, pickled foods can be high in sugar, salt, or vinegar, which can be detrimental to some people with health conditions, such as high blood pressure. Finally, pickling requires proper handling and sanitation to prevent bacterial growth, which can cause foodborne illness.
To pickle food at home, you will need to follow a few basic steps:
- First, choose your ingredients and wash them thoroughly.
- Then, prepare a mixture of water, vinegar, and salt, along with any spices or herbs you desire.
- Next, heat the mixture to a simmer and pour it over the ingredients in a sterilized jar. Ensure the jar is full and all ingredients are covered.
- Finally, let the jar cool and store it in the refrigerator or a cool, dark place for at least several days. The longer it sits, the more flavorful the food will become.
Pickling is a simple and rewarding way to enjoy your favorite foods for longer periods while also improving the taste.
Why are we such big fans of food preservation? Because it can be done without spending a fortune, and is a great first step towards making your house food self-sufficient. But if you want to truly be prepared for the likely food shortages ahead, take a look at our full food preparedness guide!